There's a channel in Youtube, Jerry Rig Everything. The tagline for the channel is: Life is a DIY Project , I really believe so. When I was a kid, I used to wait for my toys to break (Full disclosure: I used to try and break them) so that I can take them apart with my trusty Philips head screwdriver and salvage the parts.The DC motor was my favourite.
I also have a problem, I am a slow learner and bad at following instructions. For example: I bricked my phone several times trying to root it. only because I did not know how rooting works. Whatever I do, whatever I use, I have to know it's inner workings, otherwise I will definitely be bad at it. Now for the real story, I recently replaced the keyboard of a 2011 MacBook Air 11 Inch. It's not a big deal for two types of people:
- Who does it everyday, the experts.
- Who doesn't know how complex a MacBook keyboard replacement can be (you are about to find out)
But for someone like me, who collects multi bit Screwdrivers as hobby, It's a big achievement. In fact: I am writing this post with the replaced keyboard.
Here's how it began: I needed an extra laptop.Preferably mac, and must be 11 inch model for portability. I found one easily but the condition was really bad. It was not powering up when I received it.
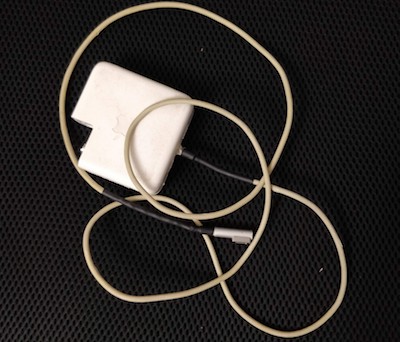
So , the very fist problem I had to solve is to get it powered on. I thought the problem must be either the battery or the charger. I opened up the mac and visually inspected the battery and power supply circuitry, which looked fine. So I turned my attention towards the charger. which looked like a cholera patient. I tested the power connectors for short circuits, because it's a very common thing with MagSafe chargers. But there was no short circuit. So I opened the charger up, and found out that the cable is broken. Ordering a new cable would take a very long time, so I cut off the faulty part from the cable and Soldered it back with the charger. With a bit of heat shrinking tubes, and superglue, the charger was alive and good looking again.
So, the Mac turned on. And once it got power, I immediately noticed that the fan makes a very loud noise. Then I installed High Sierra, and tried stressing the CPU. Wanted o run some benchmark app but it turns out, a few tabs on Google Chrome also does the job. the fan performance was bad.
Then I checked the other hardware, and found out that the keyboard was faulty. the buttons L, = and ~ was not working. I tried cleaning the keys, but that made things worse. the buttons did not work, but once in a while, the letter L kept popping up.
So I ordered a replacement keyboard, a cooling fan and a new screwdriver set in Backpack and waited for a week. after arrived, I looked up the upper body replacement guide for my version of mac on ifixit, and followed along.
The instructions were really clear, but the repair was extremely painful and required full attention, but the process was repetative, it was more like I see screw, I open screw. Once the keyboard was the only thing attached on the unibody. I had to use some serious destructive force to remove the old keyboard.
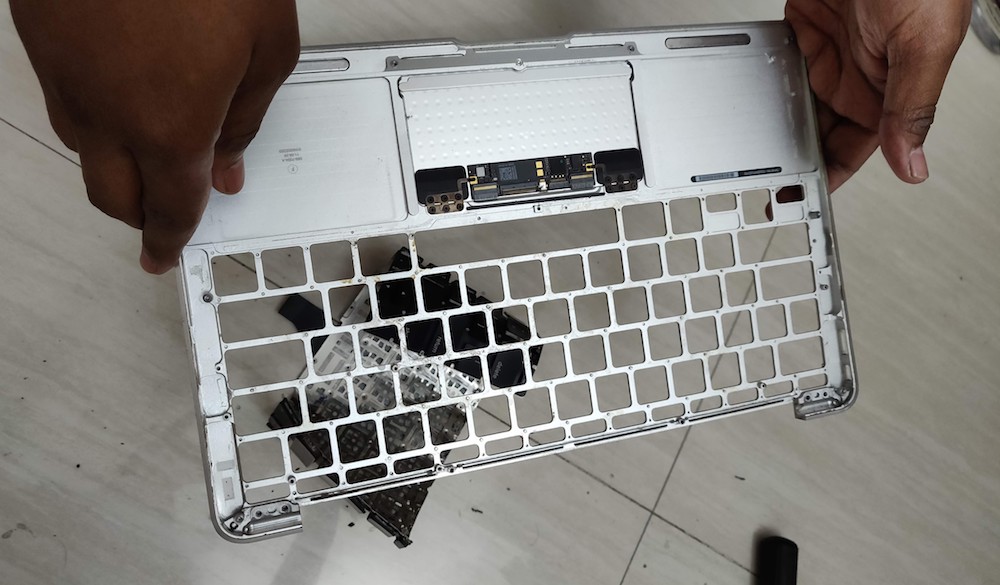
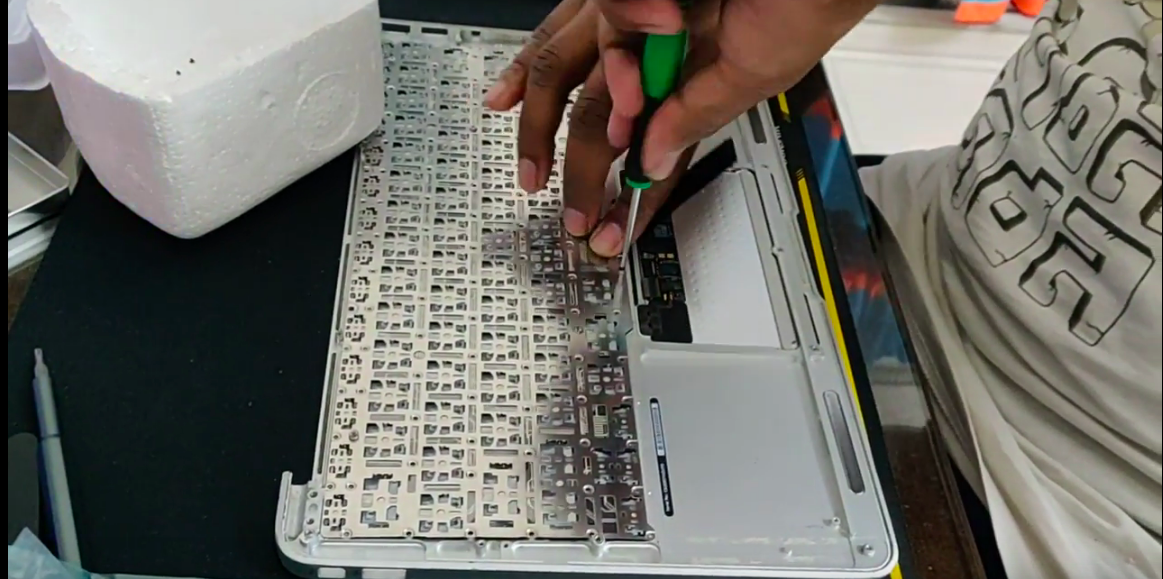
The keyboard was attached with the frame with many tiny rivets. Some of them break off with the frame. So I had to use a flush trim cable cutter(Cable Snip) to remove them one by one. Then I replaced it with the new keyboard. Now comes the tiring part, putting back the new keyboard. the replacement keyboard came with 80 tiny screws and all of them needed to put one by one. Most of them were self threading, as they replaced the rivets. This job was extremely tiring and took two hours to complete.
Then I started the reassembly. I just had to follow the ifixit guide in the reverse order. I installed the replacement fan while reassembling, and then gradually put everything back together. I did a dry-run to check if everything works fine and put back the back cover.
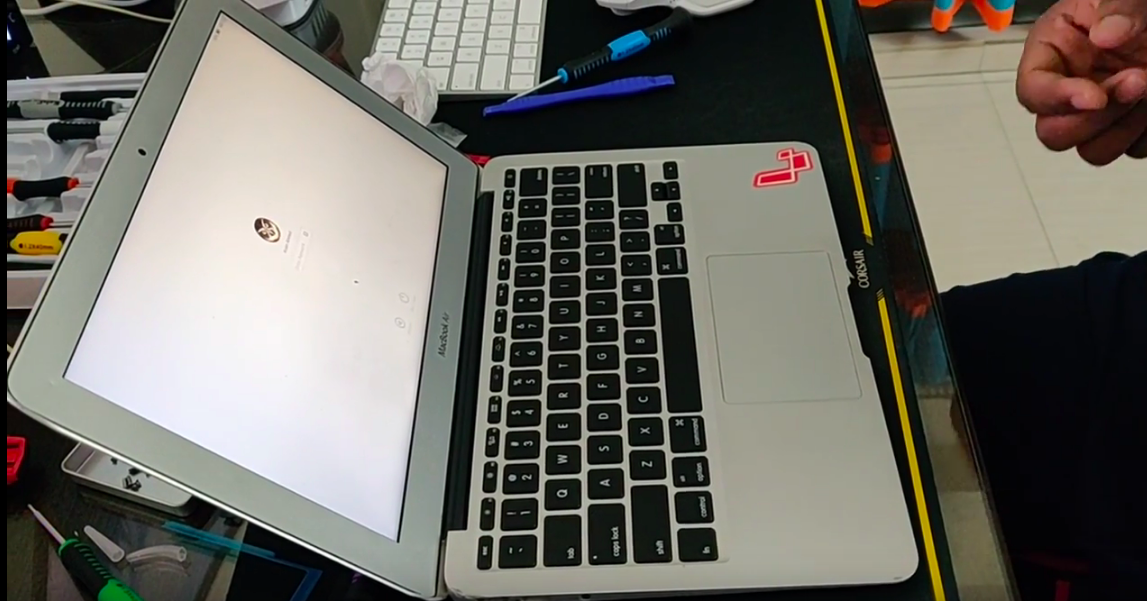
The mac was back together and everything worked completely fine. I had to open it to change the double sided tape that I used put back the two speakers, because that added an extra bulk and the back cover was very tight.
I used to be afraid of opening Macs, working on this mac helped me understand macs better. But this might not have been a happy ending. So, if you want to repair your own electronics, do some practise first, it's not that hard 🤞
Update:
Recently, I went to a hardware store and bought a good quality contact cleaner (almost half the cost of the replacement fan). I sprayed the old fan really well (just for the sake of science) with the contact cleaner and let it dry. And once it dried, installed it back in the mac to see what happened (At this point, This has become a fun game for me). And to my surprise! the fan was fixed. So if your fan is underperforming, you might wanna buy some contact cleaner, remove the fan, spray it properly, let it dry and install it back. It might just work and save you some money and time.